

ClearOS resources are organized into 5 main sections:
The sections below provide links to documentation specific for the ClearOS version. If you would like to contribute to the User and Administrator Documentation, you will need to create a ClearFoundation account here. Send your account username to developer@clearfoundation.com requesting access to make edits. Once done, you can head over to the documentation/Wiki editor here.
User and Administration documentation for ClearOS 7 can be found here.
User and Administration documentation for ClearOS 6 can be found here.
Unlike the user/admin docs, the developer documentation is managed by a Git repository in GitLabs.
Regardless of how small or big a contribution you are making, you'll first need to create (if you don't have one already) a GitLab account here.
You will also need to become somewhat familar with Markdown. Don't worry...Markdown makes writing documentation easy and there's even a WYSIWYG editor that makes writing documenation as easy as writing an email in Gmail.
There are two main branches in the developer documentation:
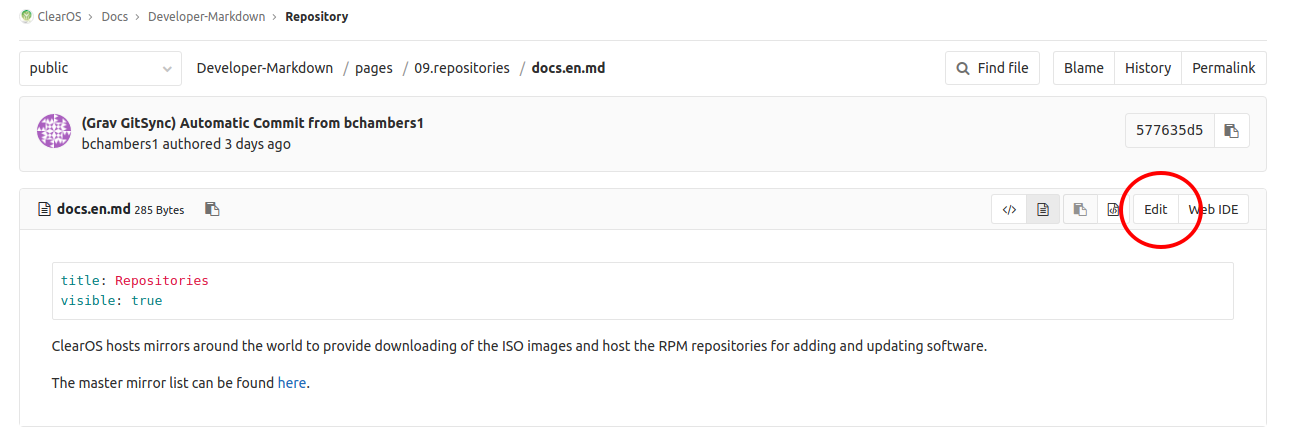
If you're making a relatively minor change like fixing a grammatical error or typo, the simplest thing to do is make the change in GitLab directly. The documentation project lives here.
You can make a pull request right on the GitLab site if you like.

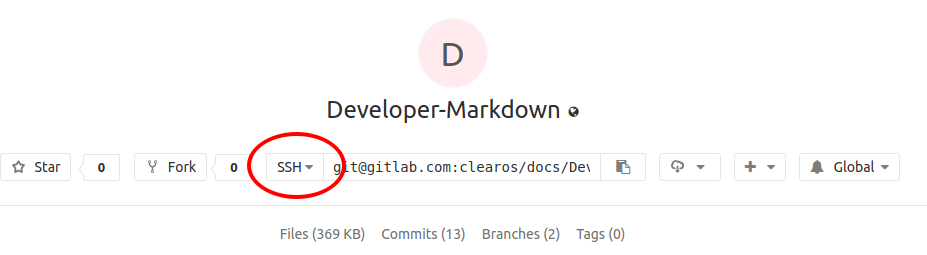
If you'll be making more than a simple change or like working locally, best pratice would be to clone the repo. Navigate in your browser to the project base for the Developer Markdown project found here.
Select SSH or HTTPS (if you have setup public/private keys, use SSH - otherwise use HTTPS) and copy the URL to your clipboard using the clipboard icon
On your desktop, ensure you have git installed, and run (example provided is using SSH keys):
git clone git@gitlab.com:clearos/docs/Developer-Markdown.gitChange directory into the Developer-Markdown newly created folder and make sure you have the appropriate branch (master or public) selected. Edit the markdown text as required and commit your changes:
git commit -aFinally, push your commits to the remote branch:
git pushIf you work on the docs all the time and would to use the markdown editor provided by the Grav framework, you should checkout the devoloper docs framework.
You'll need either a ClearOS or CentOS install to use the installation as decribed below.
Make sure git is installed on your server:
yum -y install gitChange directory to a location where you'd like to host the document root. It could be /var/www/html or simply a user's home directory.
If you are using a user's home directory (eg. /home/
Checkout the Developer documentation framework:
git clone https://gitlab.com/clearos/docs/clearos-developer-docs.gitChange to the folder of the project you just checked out:
cd clearos-developer-docsRun the bootstrap/setup file and answer the questions (or accept defaults). The script must be run as root, so either change to the root user or prefix the command with 'sudo':
./bin/setupConfigure a local IP to map docs.clearos.lan to the server's IP. On a ClearOS installed, add (or modify) an entry in the /etc/hosts file:
192.168.11.1  docs.clearos.lan
systemctl restart dnsmasq.service
nscd -i hosts
If you don't feel like mapping a domain, you can access the resource on alternate port 8095
In your browser, navigate to:
https://docs.clearos.lanor
https://<IP>:8095Where IP is your server's IP address and you have not configured/setup the docs.clearos.lan alias.
On first hitting the page, it will redirect you to the admin route to configure a user account.
Once logged into the Grav admin portal, navigate to Plugins -> Git Sync. Run through the wizard, adding your GitLab credentials and using the Git Repository:
https://gitlab.com/clearos/docs/Developer-Markdown.gitIf you do not yet have write access to the master branch, you should put public as the name in both local and remote branch names.
Do not worry about the last step for the webhook...it is already configured on the GitLab project.
Copyright © 2009- ClearCenter